Welcome To Your Easy To Make DIY Kit
I have made thousands of keepsakes for thousands of people, not only in Australia but all around the world. My passion for creating and helping people celebrate life, no matter the stage they are at, has grown with each and every keepsake I have crafted. My newest passion is helping you craft for yourself and your loved ones.
Whether you are looking for an item made with cremation ashes, a lock of hair, or preserved breastmilk, your Easy To Make DIY Kit has what you need to make your very own.
Channelling my energy into creating sentimental and beautiful keepsakes is deeply rewarding. It is an honour to bring you into my world.
Crafting is a slow and peaceful process. It provides an opportunity to process your feelings in a safe, productive and even positive way. The outcome is a physical item that you can hold in your hand, that physically represents your emotional journey.
In Your Kit
This DIY Kit contains the following:
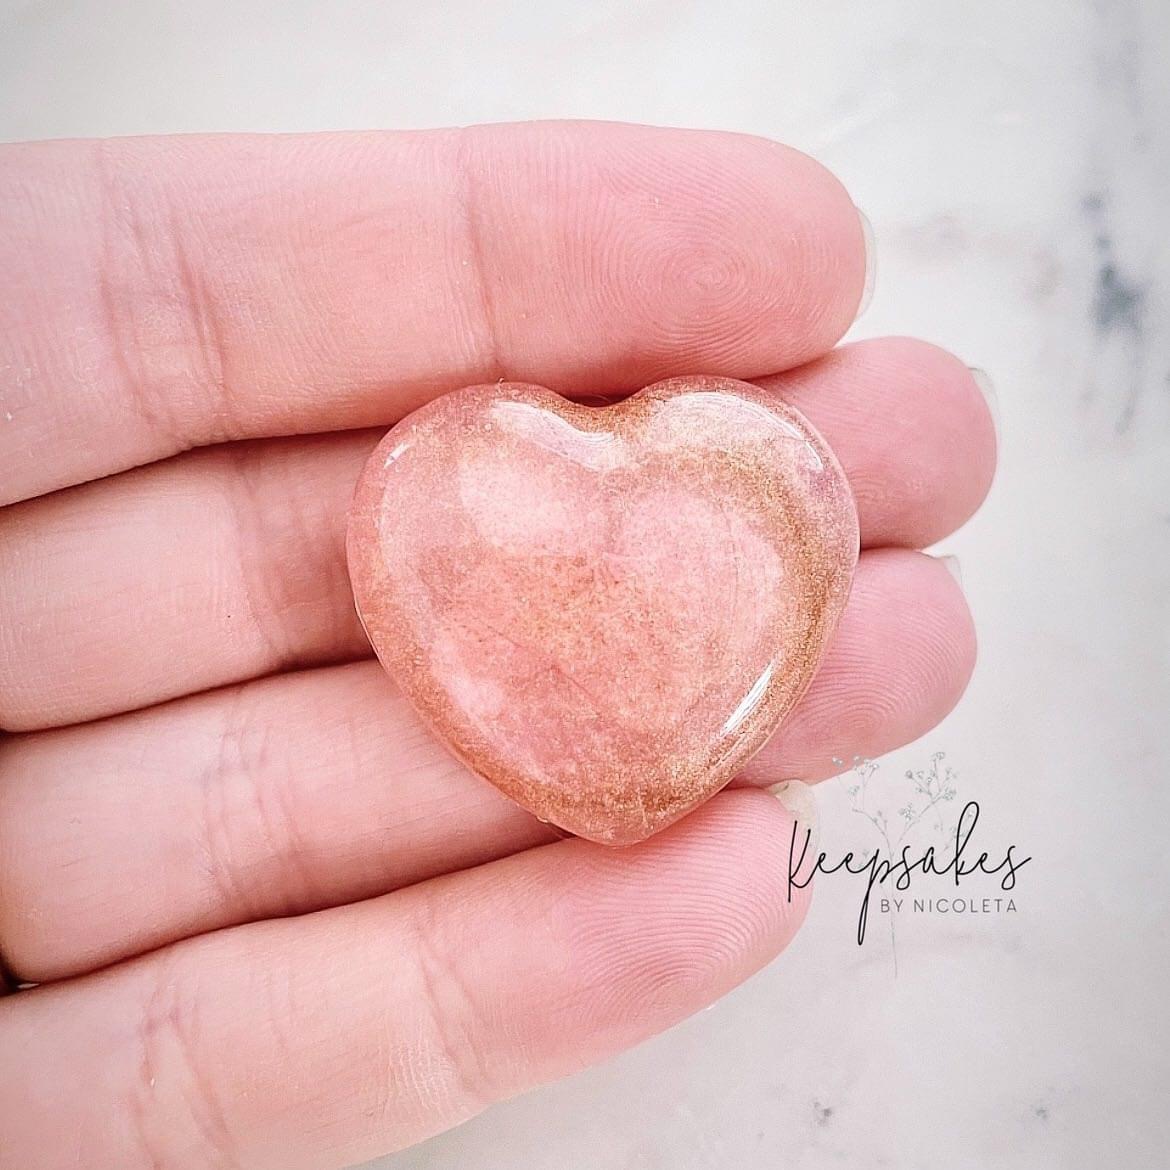
- Non toxic, mix and pour 2 part resin (enough to make at least 6 hearts)
- Resin safety data sheet
- Mixing cups, wands and a single-use pair of gloves
- Clear silicone, easy-to-use mold
- 2 colours of your choice
- Sandpaper for softening edges
- Easy step-by-step instructions
- Toothpicks
Not included, but may be useful:
- Cleaning products to wipe down your work surface before and after crafting
- A clean cloth
- A teaspoon
- Paper towel
- A container or box to protect your resin-filled mold from settling dust
If you are planning on crafting with breastmilk, it will need to first be preserved to a powder. You can order breastmilk preservation powder from us, or you can send us your breastmilk and we can preserve it and send it back to you. You can arrange this through our website.
What Inclusions Can I Use?
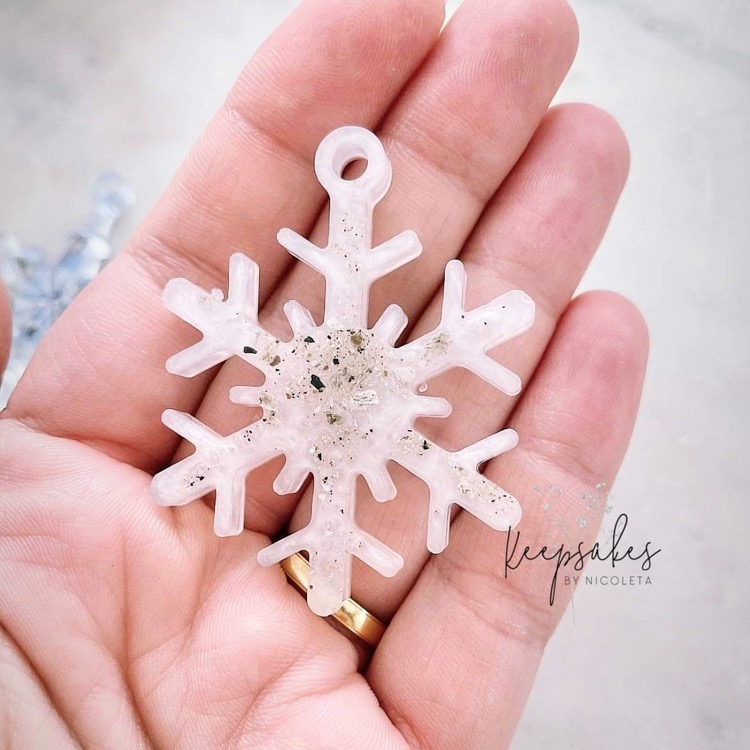
Most people want items made with cremation ashes, locks of hair or preserved, powdered breastmilk. Any of these inclusions can easily be used with this DIY Kit.
But they are not your only options. Other inclusions that are appropriate include:
- Sand, soil or very small pebbles or gravel dust
- Dried flowers, petals, leaves or seeds
- Dried placenta or umbilical cord
- Small pieces of fabric or thread
- Plastic, paper, cardboard – even small photographs
You might like to look at the Little Windows website for extra ideas, advice and tutorials.
Little Windows Brilliant Resin Safety
I choose to use Little Windows Brilliant Resin. It is the same resin I use in my studio, for the items I craft for my customers. Not only is it the safest epoxy I have found, but it consistently delivers the best finish. It doesn’t have a strong smell, and it also does not contain dangerous solvents or nonylphenol. When used in line with the instructions provided, it is not toxic.
The safety data sheet (included in this kit) was written by Little Windows to protect all users in the unlikely event of a worst case scenario, and to warn them of the dangers of intentional misuse. Please read all instructions before crafting, so you have all the information you need to craft as safely as possible.
I have included single-use gloves in my kit. Once you have read the safety information from Little Windows, you may decide to wear other personal protective equipment while crafting.
I choose to use Little Windows Brilliant Resin, because I believe it is the best and safest choice. I am proud to share Little Windows Brilliant Resin with you.
Before Crafting
Your crafting process will be smoother and more enjoyable, after you take the time to familiarise yourself with all instructions first. I understand the temptation to dive straight in and craft as quickly as possible. But beginning to craft before you are truly ready, can feel stressful, anxious and possibly regretful afterwards.
Find a flat surface to craft on, such as a table or bench. You should craft in a safe, clean, well-lit, well-ventilated space that is free of dust and draughts.
You might also find the process more peaceful if you consider your crafting environment too. Taking steps to eliminate interruptions is a good choice. Soft music, fragrances and candles are options that can also help create an ideal space.
You will not regret taking time to prepare yourself before getting started. You deserve to find joy in crafting.
Crafting
- Have all items from your DIY Kit, as well as any inclusions you will craft with, at hand. Put your gloves on.
- Using a small piece of cloth, gently wipe the inside of your mold, to ensure it is clean and dust-free.
- Combine 2 parts of Resin A with 1 part of Resin B in a mixing cup.
- Mix the combined resin using a mixing wand for around 2.5 minutes. Be sure to scrape the sides and bottom of the cup while mixing. Stir slowly and gently, to avoid introducing air bubbles.
- Stir in small amounts of your powdered colour/s of choice until you are satisfied with the overall appearance of the resin.
- Allow the mixture to rest for 5 minutes. This step allows your mixture to thicken, so it is less likely to form bubbles when you pour it into your mold. While you are waiting, you might like to wipe the necks of the resin bottles, and replace the lids.
- Using your mixing wand, gently skim off any bubbles that have risen to the surface.
- Carefully pour your coloured resin into your mold. You may use the mixing wand to gently scrape resin from the sides and bottom of the mixing cup.
- Gently place your inclusions onto the resin. Using your toothpick, push the inclusions into the resin. Take care not to push the inclusions so far that they appear on the surface of your finished item. Your inclusions should be embedded completely within your resin.
- Look closely at the resin inside of your mold. If you see any large bubbles collecting on any edges, you can use your toothpick to break the bubbles, or draw them up to the surface. You can use your paper towel to wipe any formed bubbles off your toothpick before pushing it back into your resin.
- When you are satisfied, set your mold in a safe place to cure. You might like to set it in a container or box so it is protected from settling dust. You should allow at least 12 hours for your item to cure.
- When you are satisfied that your item has hardened sufficiently, you can gently remove it from your mold. If there are rough edges, you can use the sandpaper provided, and lightly sand them smooth.
Support
If you need extra guidance to use your DIY Kit, either before crafting, or after, I am here for you. I am also open to receiving your feedback about this process. I would love for you to reach out to me via my socials, or via email.